节约时间,修改后的tree版本传送门,https://github.com/feilongfl/tree-for-fuchsia
高高兴兴的把tree下载下来发现根本不能用:)
从 http://mama.indstate.edu/users/ice/tree/ 下载最新(2019.3.4)版本1.8
放在//zircon/system/uapp/tree下,并在uapp下的BUILD.gn添加tree
在tree目录下建立编译文件,忽略各种warrning,然后改掉tree里面各种空括号函数()=>(void)
# Copyright 2019 The Fuchsia Authors. All rights reserved.
# Use of this source code is governed by a BSD-style license that can be
# found in the LICENSE file.

config("tree_config") {
  cflags = [
    "-Wno-discarded-qualifiers",
    "-Wno-implicit-fallthrough",
    "-Wno-sign-compare",
    "-Wno-unused-but-set-parameter",
    "-Wno-incompatible-pointer-types"
  ]
}

executable("tree") {
  configs += [ ":tree_config" ]

  sources = [
    "color.c",
    "hash.c",
    "json.c",
    "tree.c",
    "unix.c",
    "file.c",
    "html.c",
    "strverscmp.c",
    "tree.h",
    "xml.c",
  ]
}
开始编译…….顺利通过
高高兴兴在系统中打开tree命令,顺利的看到崩溃堆栈(手动滑稽),什么鬼…
今天(2019.3.4)太晚了,随手搞搞,先开个坑
开始查坑
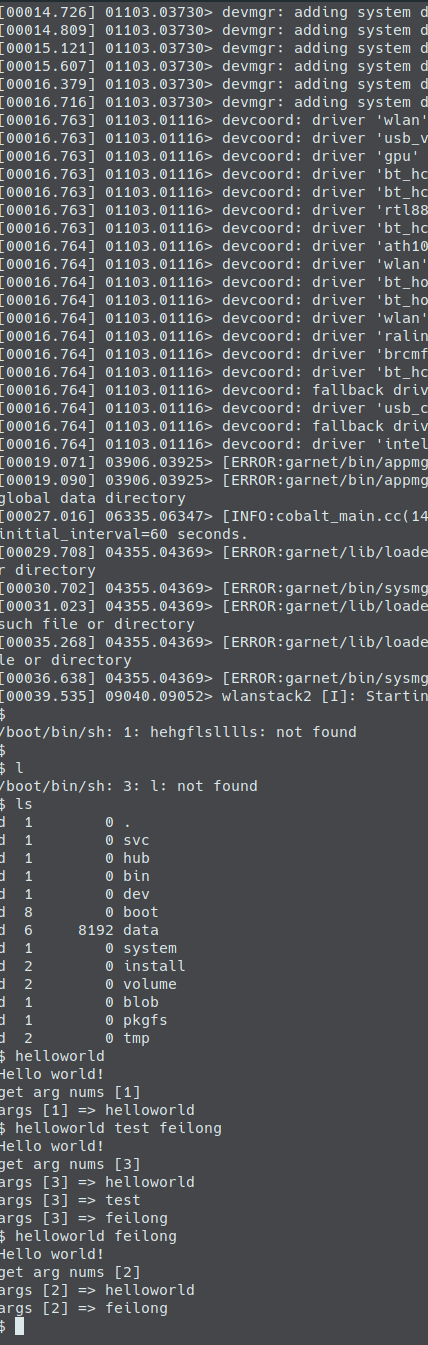
首先早上(2019.3.5)起来先写了个helloworld试试水,毕竟这才是正路啊~~
#include <stdio.h>

int main(int argc, const char** argv) {
  printf("Hello world!\n");
  printf("get arg nums [%d]\n",argc);
  for (int i = 0;i < argc;i++) {
    printf("args [%d] => %s\n", argc, argv[i]);
  }
  return 0;
}
# Copyright 2019 The Fuchsia Authors. All rights reserved.
# Use of this source code is governed by a BSD-style license that can be
# found in the LICENSE file.

config("helloworld_config") {
  cflags = [
  ]
}

executable("helloworld") {
  configs += [ ":helloworld_config" ]

  sources = [
    "helloworld.c",
  ]
}
然后编译运行,之后竟然也崩溃了。。。不是吧,c语言我还是很有自信的…
于是开始看别的包,打开i2c的包,发现怎么还有个deps
# Copyright 2019 The Fuchsia Authors. All rights reserved.
# Use of this source code is governed by a BSD-style license that can be
# found in the LICENSE file.

executable("i2c") {
  sources = [
    "i2c.c",
  ]
  deps = [
    "$zx/system/fidl/fuchsia-hardware-i2c:c",
    "$zx/system/ulib/fdio",
    "$zx/system/ulib/zircon",
  ]
}
第一个怎么看都是i2c硬件相关,helloworld用不到,中间那个fdio让人联想到file device i/o,最后那个肯定是系统了,但是helloworld跟系统貌似没什么太大关系,于是说只添加fdio尝试一下,可以运行了
# Copyright 2019 The Fuchsia Authors. All rights reserved.
# Use of this source code is governed by a BSD-style license that can be
# found in the LICENSE file.

config("helloworld_config") {
  cflags = [
  ]
}

executable("helloworld") {
  configs += [ ":helloworld_config" ]

  sources = [
    "helloworld.c",
  ]

  deps = [
    "$zx/system/ulib/fdio",
  ]
}
这样的话问题就比较清晰了,之前的tree命令没有依赖项。使用输入输出必须添加fdio依赖
google对fdio的说明
FDIO是一个客户端库,它通过紫红色系统接口中的底层fuchsia.io协议提供类似POSIX的抽象。FDIO is a client library that provides a POSIX-like abstraction over the underlying fuchsia.io protocol in the Fuchsia System Interface.
解决tree
添加fdio依赖即可运行(我已经修正github仓库)
# Copyright 2019 The Fuchsia Authors. All rights reserved.
# Use of this source code is governed by a BSD-style license that can be
# found in the LICENSE file.

config("tree_config") {
  cflags = [
    "-Wno-discarded-qualifiers",
    "-Wno-implicit-fallthrough",
    "-Wno-sign-compare",
    "-Wno-unused-but-set-parameter",
    "-Wno-incompatible-pointer-types"
  ]
}

executable("tree") {
  configs += [ ":tree_config" ]

  sources = [
    "color.c",
    "hash.c",
    "json.c",
    "tree.c",
    "unix.c",
    "file.c",
    "html.c",
    "strverscmp.c",
    "tree.h",
    "xml.c",
  ]

  deps = [
    "$zx/system/ulib/fdio",
  ]
}
然后就可以查看fuchsia里面到底是什么目录结构了
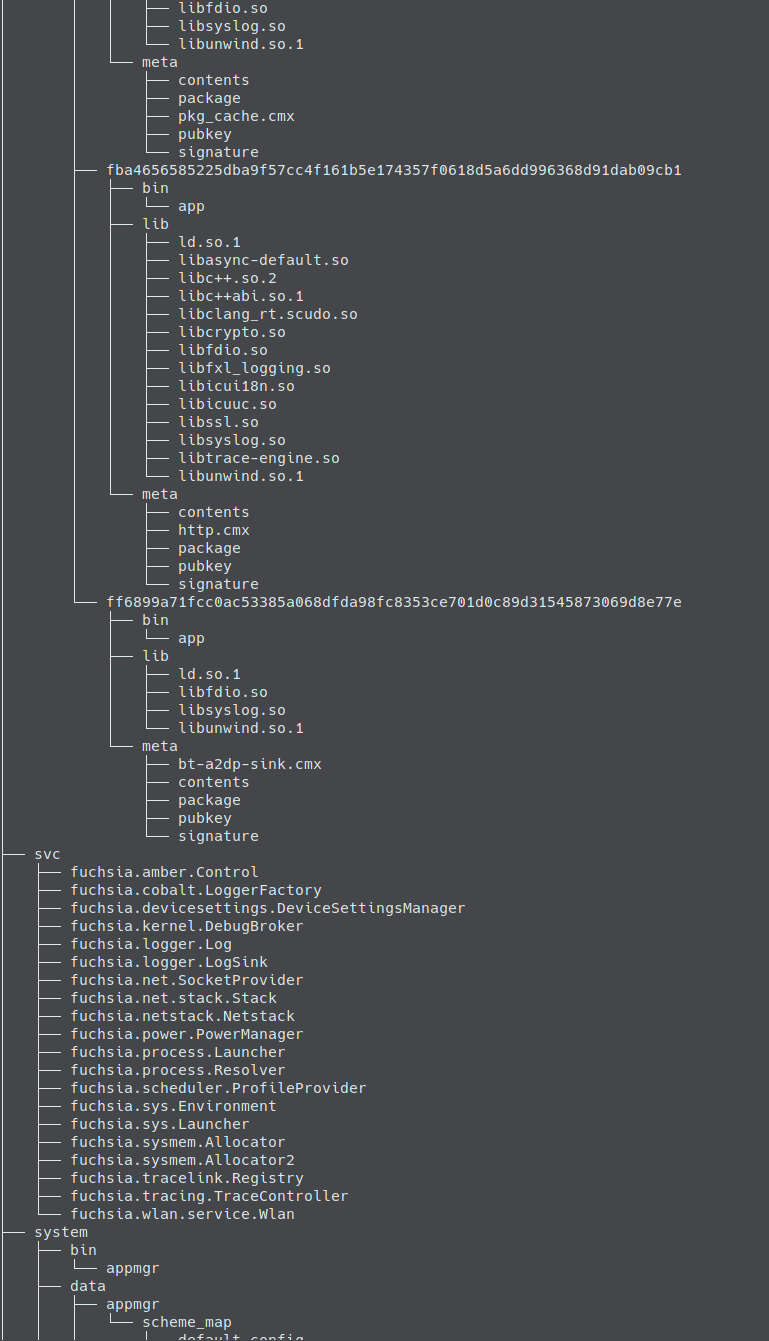
想直接查看的朋友移步 https://gist.github.com/feilongfl/1a0d564b85d4de3747af9820abcc82fd

“为fuchsia添加tree命令”的一个响应